In Blazor, a page is a top-level view that can be reached via a URL.
In this exercise we'll recreate the Counter.razor page from scratch.
- In the Solution Explorer window, expand the
MyFirstBlazorApp.Clientproject. - Expand the
Pagesfolder. - Right-click
Counter.razorand delete it. - Right-click the
Pagesfolder. - Select Add->Razor Component and create a new page named
Counter.razor. If you receive a "scaffolding" error, you can instead select another file format and give it a.razorfile extension.
A Razor page is a self-contained view. We can include both the HTML and Razor view mark-up, and also any C# methods required for events etc. Start your new razor page with the following.
@page "/counter"

<h1>Counter</h1>
<p>The counter value is @currentCount</p>

@code {
     private int currentCount= 42;
}
The first line identifies the URL required to render the content of this page. More advanced routing techniques will be covered in the Routing section.
This is followed by some standard HTML, a H1 with a page title and a paragraph with some content.
Just as with a standard ASP.NET Razor page, it is possible to insert programmable content by escaping it with the @ symbol.
In this case we are displaying the value of the currentCount private member.
Finally, the @code section of the page is declared.
This is where we write our properties / methods, event handlers, or whatever else we need.
Here is where our currentCount private member is declared and its initial value set.
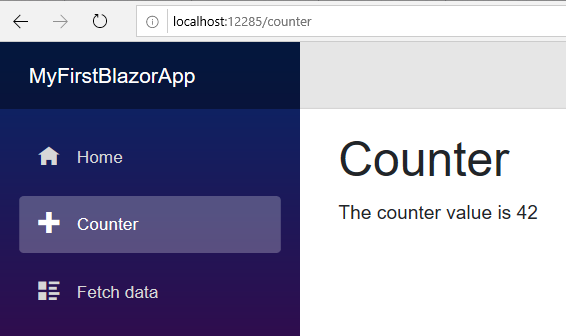
Run the application, click the Counter link on the left of the page, and you should see something like the following:
Interacting with the page
So far we've bound a private member of the page so that its value is output as HTML when the Razor view is rendered. Next we'll update the value as a response to a user action.
Change the razor view to include the following Button mark-up.
<button class="btn btn-primary" @onclick=IncrementCounter>Increment counter
This will add a HTML button and use some Bootstrap styles to make it look pretty.
It also sets its onclick event to execute a method named IncrementCounter.
The method implementation is very simple, and should be placed within the @code section.
@page "/counter"

<h1>Counter</h1>
<p>The counter value is @currentCount</p>
<button class="btn btn-primary" @onclick=IncrementCounter>Increment counter</button>

@code {
  private int currentCount = 42;

  private void IncrementCounter()
  {
    currentCount++;
  }
}
Now run the application again, navigate to the Counter page, and click the button to see the value on the page update.