The counter value is @currentCount
@code { private int currentCount = 42; } ``` The first line identifies the URL required to render the content of this page. More advanced routing techniques are covered in the [Routing](/routing/) section. This is followed by some standard HTML, an H1 with a page header and a paragraph with some content. It is possible to insert programmable content by escaping it with the `@` symbol. In this case we are displaying the value of the `currentCount` private field. ```razor @currentCount ``` Finally, the `@code` section of the page is declared. This is where we write our properties, methods, event handlers, or whatever else we need. Here is where our `currentCount` private field is declared and its initial value set. Run the application, click the **Counter** link on the left of the page, and you should see something like the following: 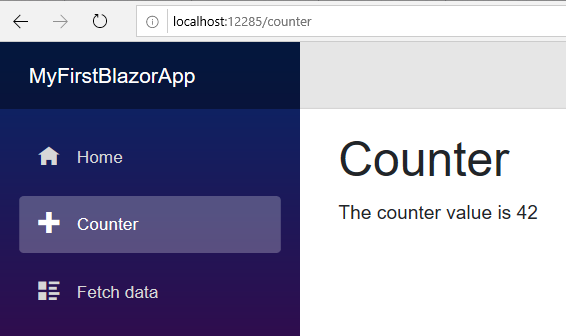 ## Interacting with the page So far we have displayed a private field of the page so that its value is output as HTML when the Razor view is rendered. Next we will update the value as a response to a user action. Change the Razor view to include the following button mark-up: ```razor ``` This will add an HTML button and use some Bootstrap styles to make it look pretty. It also sets its `onclick` event to execute a method named `IncrementCounter`. The method implementation is very simple, and should be placed within the `@code` section. ```razor @page "/counter"The counter value is @currentCount
@code { private int currentCount = 42; private void IncrementCounter() { currentCount++; } } ``` Now run the application again, navigate to the **Counter** page, and click the button to see the value on the page update. When the button is clicked, Blazor executes the `IncrementCounter` method, which updates the field and automatically triggers a re-render of the component. 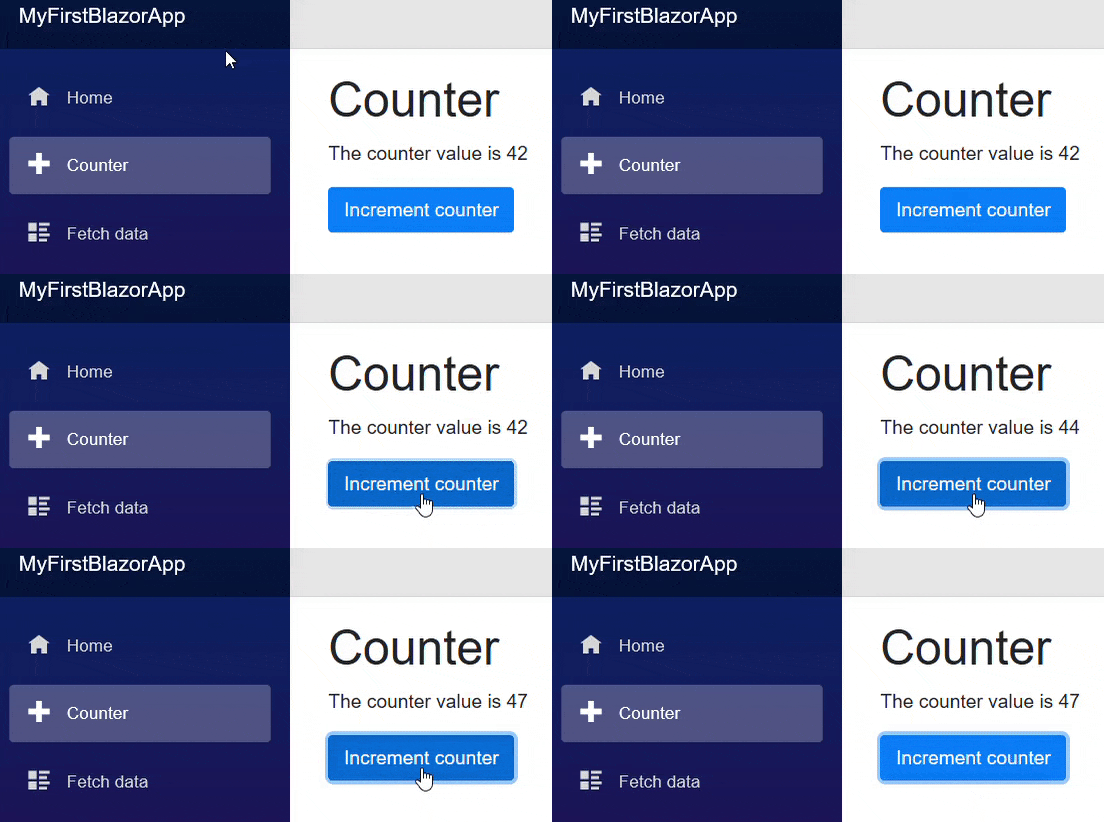 Note that `onclick` is a JavaScript event on the HTML `